Storyblok and Angular 13 in 5 min (more or less 😉 )
Storyblok is the first headless CMS that works for developers & marketers alike.
Welcome to Storyblok and Angular 13 in 5 minutes. In this tutorial, we will learn how to integrate our headless CMS, Storyblok, with Angular 13. Following straightforward steps will create all the necessary components and develop the integration with the Storyblok SDK storyblok-js-client.
In the end, you will have a live preview to manage your content in Storyblok:

You can clone this tutorial here (opens in a new window)
Let’s start setting up our Angular environment
Requirements
To follow this tutorial please make sure you have everything installed and configured:
- Basic understanding of Angular
- Angular CLI 13 installed
- NodeJS 16 and NPM 8 installed
- A Storyblok account to manage content
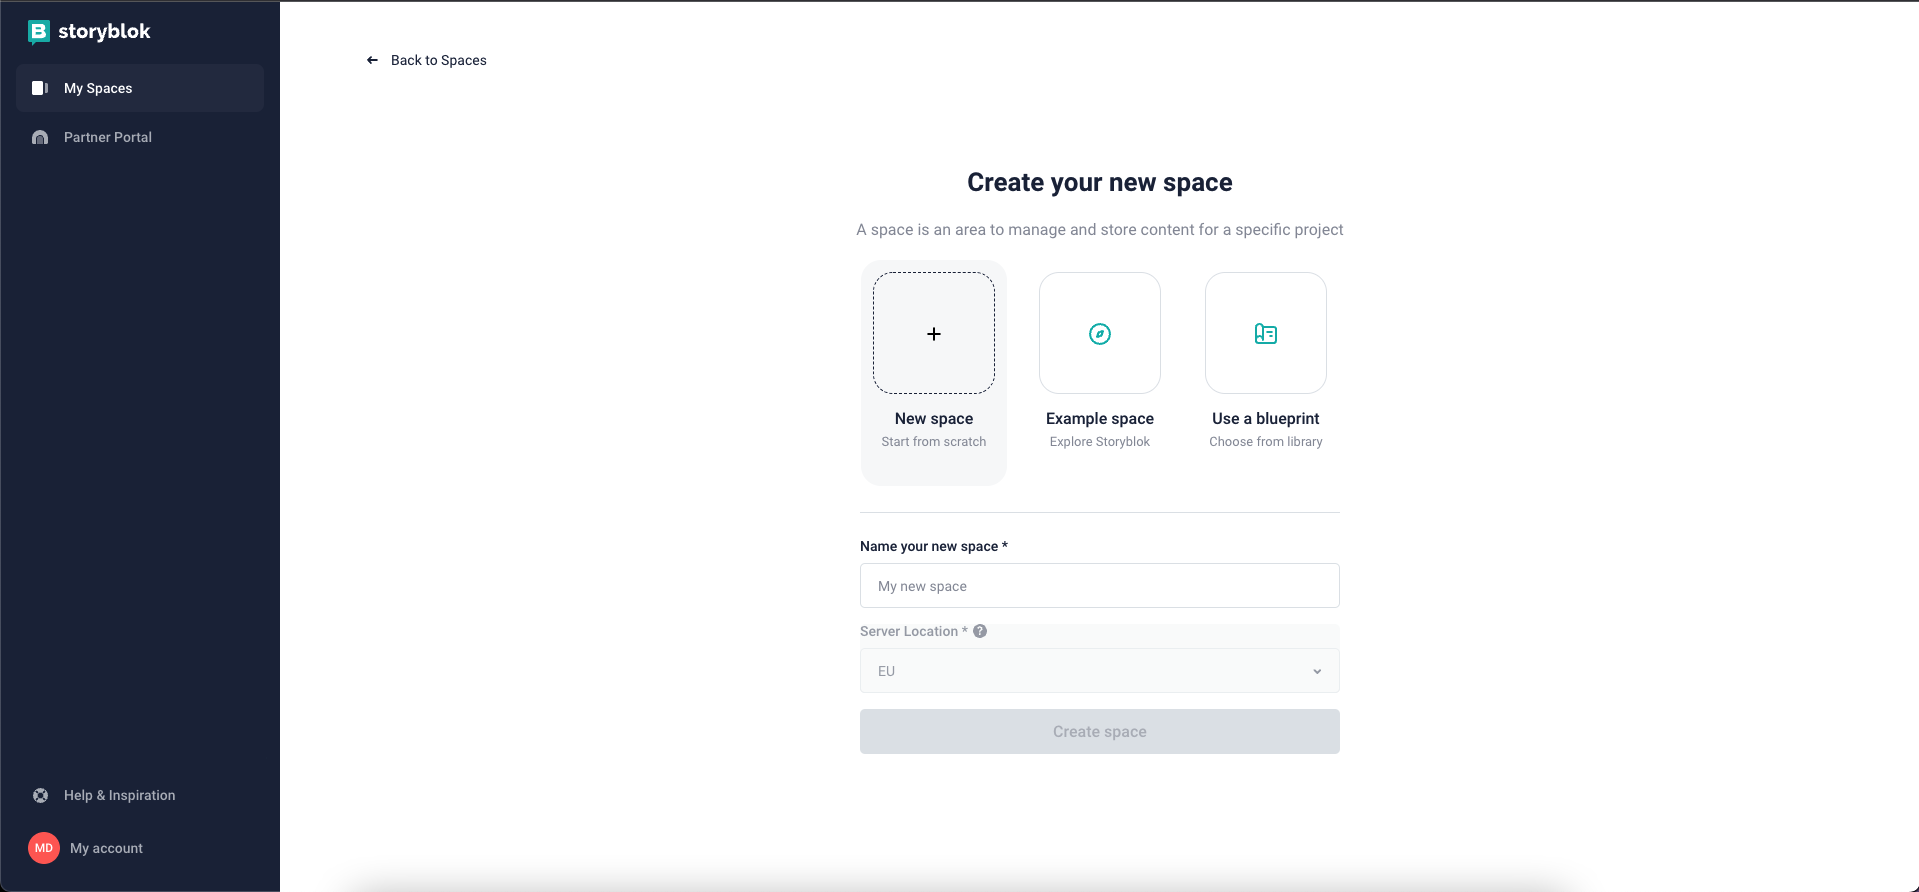
Before we get to the code go to Storyblok and create a new space:
Setup the project
In this tutorial we will use the angular-cli 13. You can check your cli version using ng version in your terminal.

Now we can start and create our project:
ng new angular-tutorialIf all went well, enter the commands:
cd angular-tutorial && ng serve -oWait for the server to compile and go to http://localhost:4200. Here you should see something like this:

Great! Now, let's install the Storyblok js client. You should end with version 4.2.1 or superior
npm install storyblok-js-clientAnd our dynamic component. Here we should get version 10.1 or superior
npm install ng-dynamic-component --saveAwesome! Now, we need to create several files for our project. Don’t worry, we will see how each of them should look
In the end, we should have a file structure similar to this:

Ok, let’s start with our Storyblok service ../src/app/services/storyblok.service.ts. It will be in charge of talking to the Storyblok API, and should look like this:
import { Injectable } from '@angular/core';
import Client from 'storyblok-js-client';

@Injectable({
  providedIn: 'root'
})
export class StoryblokService {
  private sbClient = new Client({
    accessToken: 'Your_Preview_Token' // Add your token here
  });

  constructor() { }

  getStory(slug: string, params?: object): Promise<any> {
    return this.sbClient.getStory(slug, params)
      .then(res => res.data);
  }

  getStories(params?: object): Promise<any> {
    return this.sbClient.getStories(params)
      .then(res => res.data);
  }
}
As you can see, we need a preview token. Let's see how we can find it. Let's go to the space we created at the beginning of this tutorial

Now let's take a look at ../src/app/directives/storyblok.directive.ts. This file should look like this
import { Directive, ElementRef, Input } from '@angular/core';

@Directive({
  selector: '[appStoryblok]'
})
export class StoryblokDirective {

  @Input('appStoryblok') appStoryblok: string;

  constructor(private el: ElementRef) {

  }

  ngOnInit() {
    if (typeof this.appStoryblok === 'undefined') {
      return;
    }

    let options = JSON.parse(this.appStoryblok.replace('<!--#storyblok#', '').replace('-->', ''));

    this.el.nativeElement.setAttribute('data-blok-c', JSON.stringify(options));
    this.el.nativeElement.setAttribute('data-blok-uid', options.id + '-' + options.uid);
  }

}
In our ../src/app/app.component.html, replace the placeholder with:
<div class="root">
  <div *ngIf="story.content">
    <ndc-dynamic [ndcDynamicComponent]="components[story.content.component]" [ndcDynamicInputs]="story.content">
    </ndc-dynamic>
  </div>
</div>
Now, the file ../src/app/components.ts will be in charge of loading our components.
import { PageComponent } from './components/page/page.component';
import { TeaserComponent } from './components/teaser/teaser.component';
import { GridComponent } from './components/grid/grid.component';
import { FeatureComponent } from './components/feature/feature.component';

let Components = {
  'page': PageComponent,
  'teaser': TeaserComponent,
  'grid': GridComponent,
  'feature': FeatureComponent
}

export { Components }
Let’s update our ../src/app/app.module.ts file to include the new components:
import { BrowserModule } from '@angular/platform-browser';
import { NgModule } from '@angular/core';
import { DynamicModule } from 'ng-dynamic-component';
import { AppComponent } from './app.component';
import { StoryblokService } from './services/storyblok.service';
import { StoryblokDirective } from './directives/storyblok.directive';
import { TeaserComponent } from './components/teaser/teaser.component';
import { GridComponent } from './components/grid/grid.component';
import { PageComponent } from './components/page/page.component';
import { FeatureComponent } from './components/feature/feature.component';

@NgModule({
  declarations: [
    AppComponent,
    PageComponent,
    StoryblokDirective,
    TeaserComponent,
    GridComponent,
    FeatureComponent
  ],
  imports: [BrowserModule, DynamicModule],
  exports: [BrowserModule, DynamicModule],
  providers: [StoryblokService],
  bootstrap: [AppComponent],
})
export class AppModule { }
Now, to finish the component configuration, open ../src/app/app.component.ts and add the following code:
import { Component, OnInit } from '@angular/core';
import { StoryblokService } from './services/storyblok.service';
import { Components } from './components';

@Component({
  selector: 'app-root',
  templateUrl: './app.component.html',
  styleUrls: ['./app.component.css']
})
export class AppComponent implements OnInit {
  story = {content: null, name: ''};
  components = Components;

  constructor(private storyblokService: StoryblokService) {
    window.storyblok.init();
    window.storyblok.on(['change', 'published'],  function() {
      location.reload()
    });
  }

  ngOnInit() {
    this.storyblokService.getStory('home', {version: 'draft'})
      .then(data => this.story = data.story);
  }
}
Rendering Components/Content
We have almost everything ready. Now we will add the code to render content coming from the Storyblok API.
<div>
  <div [appStoryblok]="_editable">
    <div *ngFor="let blok of body">
      <ndc-dynamic *ngIf="components" [ndcDynamicComponent]="components[blok.component]" [ndcDynamicInputs]="blok">
      </ndc-dynamic>
    </div>
  </div>
</div>import { Component, OnInit, Input } from '@angular/core';
import { StoryblokService } from 'src/app/services/storyblok.service';
@Component({
selector: 'app-page',
templateUrl: './page.component.html',
styleUrls: ['./page.component.css']
})
export class PageComponent implements OnInit {
components: any;
constructor(private storyblok: StoryblokService) {
import('src/app/components').then(cp => {
this.components = cp.Components;
});
}
@Input() body: any[];
@Input() _editable: any;
ngOnInit() {}
}To have in mind ⚠️
We are using dynamic imports, so we must change our ../tsconfig.json to target your code to esnext module

<div class="teaser" [appStoryblok]="_editable">
  <h1>
    {{ headline }}
  </h1>
</div>import { Component, OnInit, Input } from '@angular/core';
@Component({
selector: 'app-teaser',
templateUrl: './teaser.component.html',
styleUrls: ['./teaser.component.css']
})
export class TeaserComponent implements OnInit {
@Input() headline: string;
@Input() _editable: any;
constructor() { }
ngOnInit() {
}
}<div class="grid" [appStoryblok]="_editable">
<div *ngFor="let blok of columns">
<ndc-dynamic *ngIf="components" [ndcDynamicComponent]="components[blok.component]" [ndcDynamicInputs]="blok">
</ndc-dynamic>
</div>
</div>import { Component, OnInit, Input } from '@angular/core';
import { StoryblokService } from 'src/app/services/storyblok.service';
@Component({
selector: 'app-grid',
templateUrl: './grid.component.html',
styleUrls: ['./grid.component.css']
})
export class GridComponent implements OnInit {
components: any;
constructor(private storyblok: StoryblokService) {
import('src/app/components').then(cp => {
this.components = cp.Components;
});
}
@Input() columns: any[];
@Input() _editable: any;
ngOnInit() {}
}<div class="column" [appStoryblok]="_editable">
<h2>{{ name }}</h2>
</div>import { Component, OnInit, Input } from '@angular/core';
@Component({
selector: 'app-feature',
templateUrl: './feature.component.html',
styleUrls: ['./feature.component.css']
})
export class FeatureComponent implements OnInit {
@Input() name: string;
@Input() _editable: string;
constructor() { }
ngOnInit() {
}
}Some final touches
Add the Storyblok bridge to ../src/index.html. It will communicate via iframe with Storyblok to tell the editing interface which component needs to be opened when the user clicks on it
<script src="http://app.storyblok.com/f/storyblok-latest.js?t=Q2mIMuV6frKpnmQlOee0rAtt" type="text/javascript"></script>
Add some styles
<link rel="stylesheet" href="https://rawgit.com/DominikAngerer/486c4f34c35d514e64e3891b737770f4/raw/db3b490ee3eec14a2171ee175b2ee24aede8bea5/sample-stylings.css">Now that everything is set, we can start working in our content

Let's add a new preview URL


Remember you can clone this example here (opens in a new window)
