Ideation Room
With the Ideation Room, you’ll bring your ideas to Storyblok in a collaborative, ai-powered environment. No more toggling between applications! Now, you can draft together with your whole team using commenting features, interlinking, and AI tools – all from a centralized location.
The Ideation Room is still in Beta. There may be some unexpected bugs or unintended behavior during this time.
Accessing the Ideation Room
From your Storyblok dashboard, navigate to the dark blue menu on the left-hand side. Click on Ideas {1}. Here, you’ll find your Ideas dashboard:
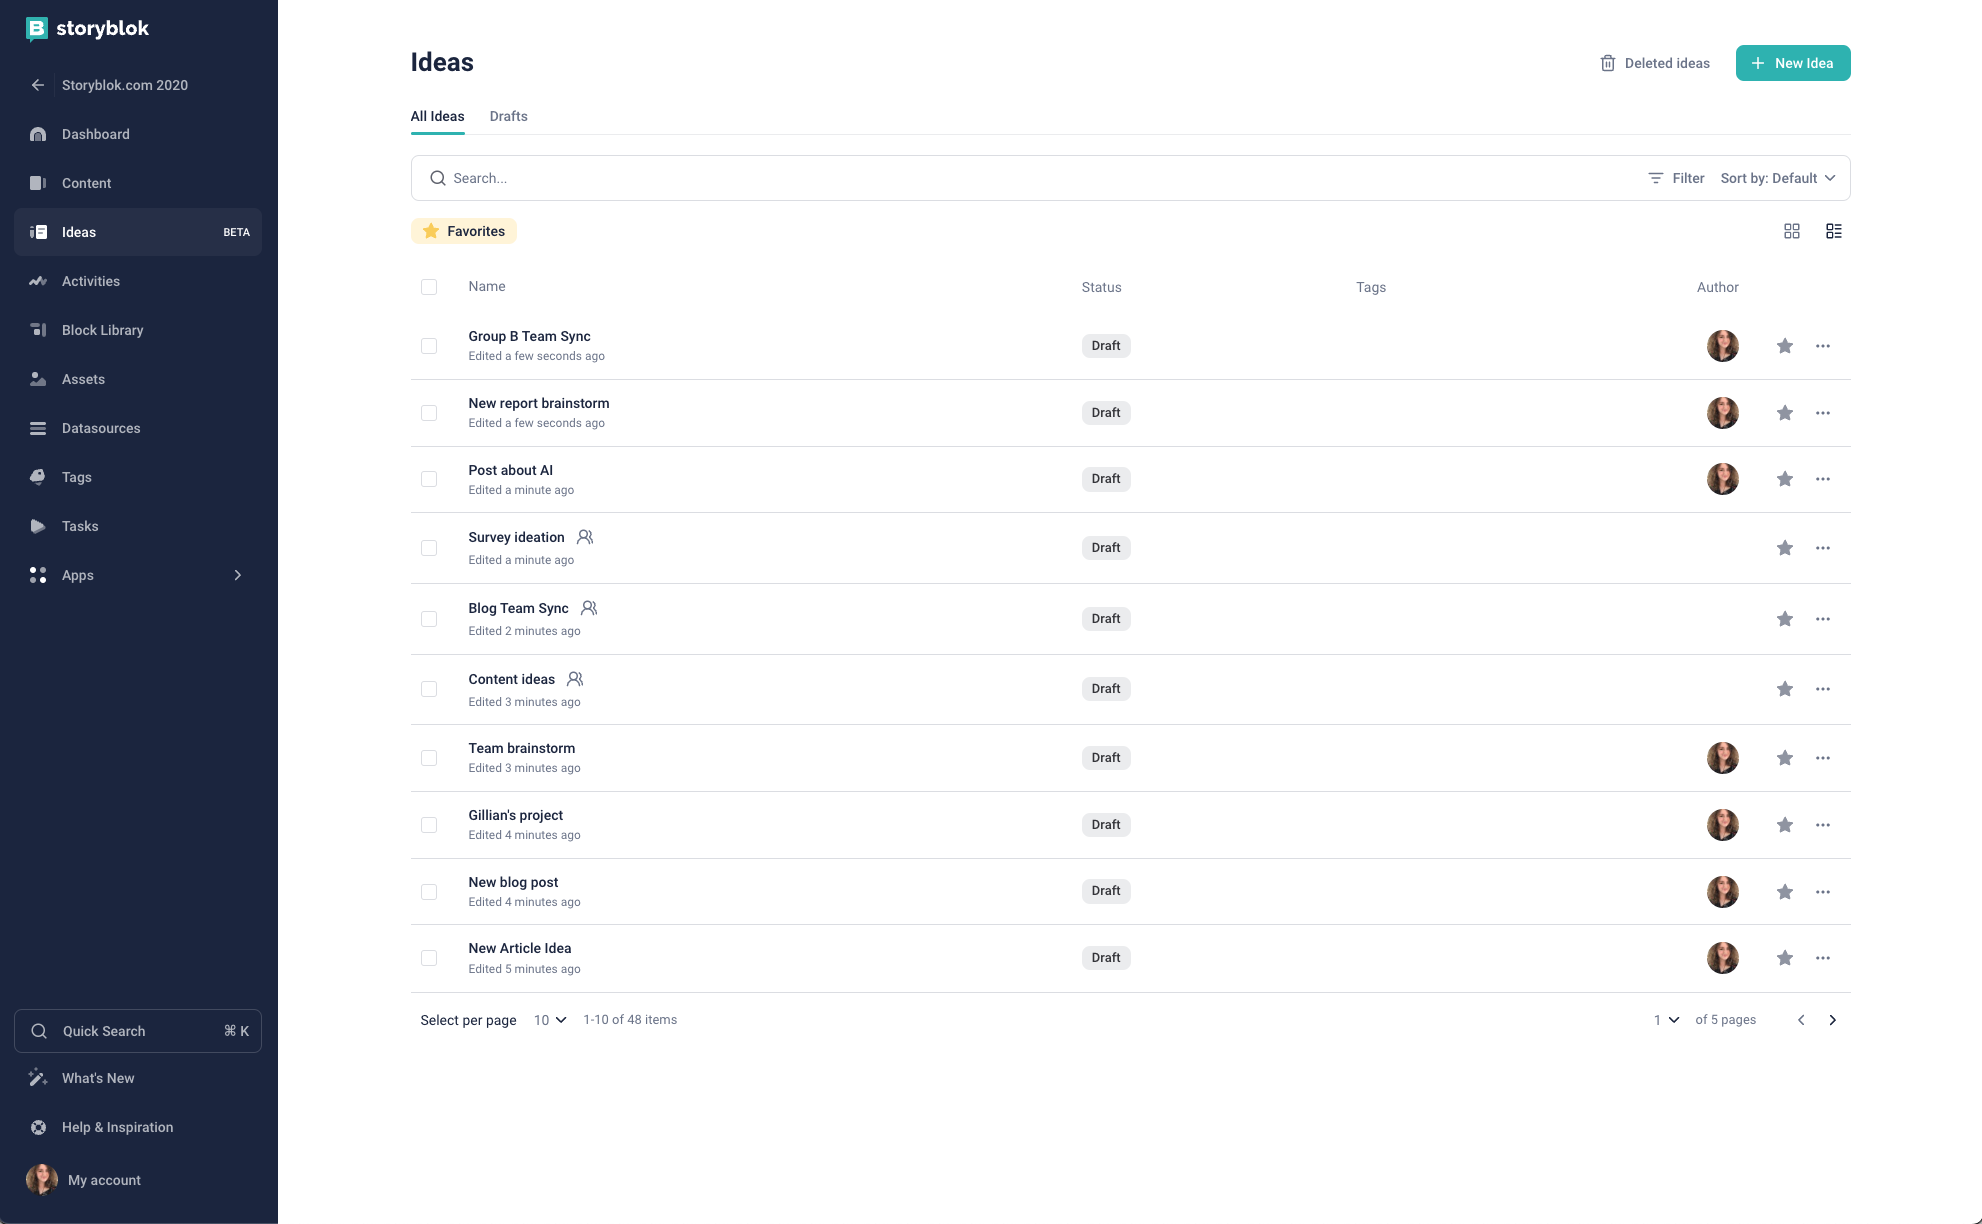
You can either view All Ideas or just the ones that are Drafts {2}. You can also view any Deleted Ideas or create a New Idea {3}.
You can restore deleted Ideas. Simply access the Deleted Ideas page, select the checkboxes for the Ideas you want to restore, and then click Restore. They will go back to the main dashboard.
You can search all existing Ideas with the Search bar {4}. On the right side of this bar, you can filter results by Tags, Assignee, Status, or Favorites and sort them by several parameters {5}. You can also change your view between Tiles and Lists {6}.
Below this interface, you will see the available Ideas. Each entry will list the Name, Status, Tags, and Author. Click on an Idea to open it.
You can use the icons on the right-hand side {7} to Favorite an idea (the star icon) or access more options including Share, Settings, and Delete (the three dots).
If you want to delete multiple ideas at once, select the checkbox on the left-hand side {8} of each idea you want to delete. Then, click the Delete option that comes up.
At the left-hand bottom of the page {9}, you can change the number of Ideas you see per page as well as see how many total Ideas there are in the Space. The right-hand bottom side {10} will allow you to navigate between pages.
Creating a New Idea
Select the turquoise Idea+ icon in the upper right corner to be redirected to a new Idea:
The top toolbar has a few icons {1} . You can hover your cursor over any of them for more information on what they do. These are generally the same options you have in the Storyblok editor, such as text size , undo/redo, basic formatting tools, lists, and more sophisticated formatting tools.
You can also use the AI option {2} to use artificial intelligence to generate new content or enhance existing text. For more information on this, See the next section, “Using AI”.
In the top left-hand corner {3}, you’ll see the title of the Idea, its publication status, and its sharing status. You can change these by opening Settings {4}. For more information on these settings and how to change them, see “Side Menu - Overview”.
In the top right-hand corner {5}, you’ll see your user icon as well as the icons of any users currently viewing the Idea with you. You’ll also see the option to share the Idea. Clicking the Share button will bring up the following screen:
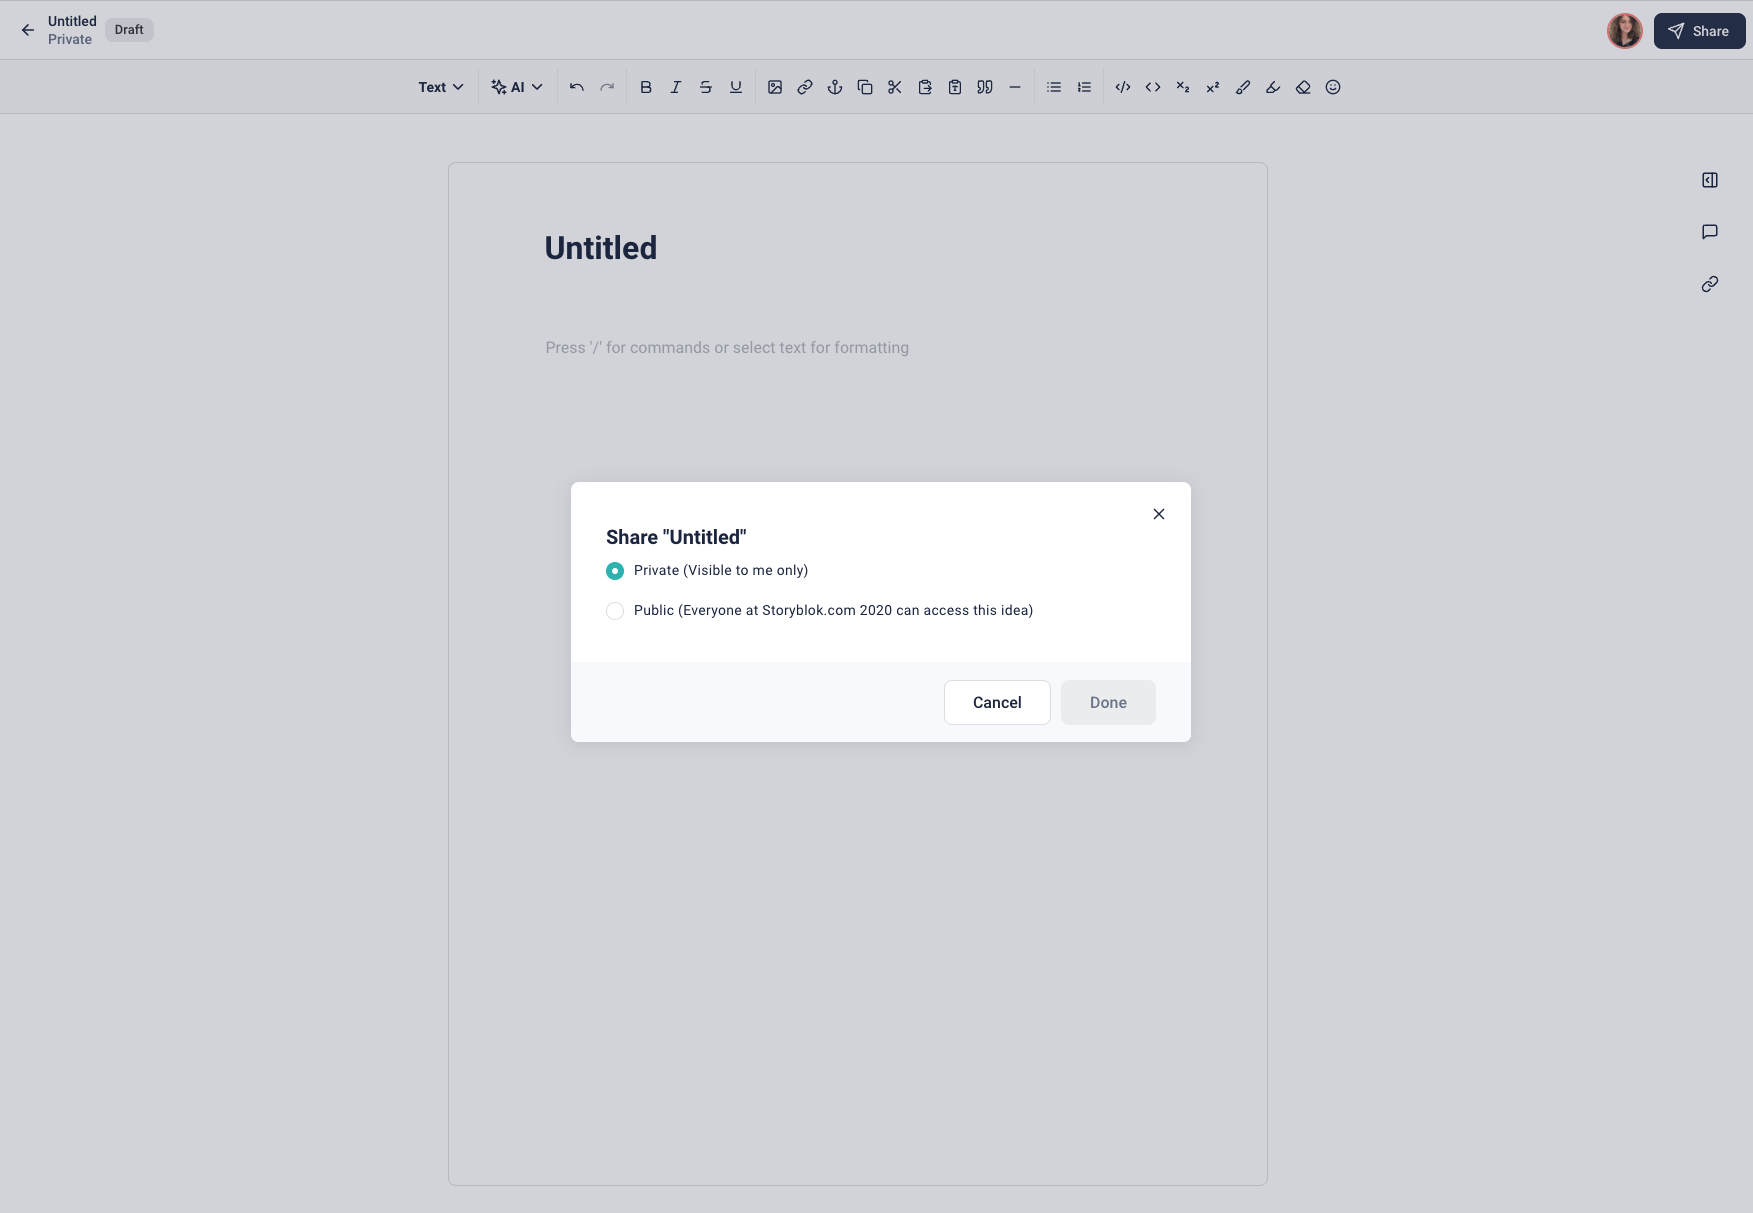
Here, you have two options: keep the Idea private and viewable only to yourself, or share it with the entire Space.
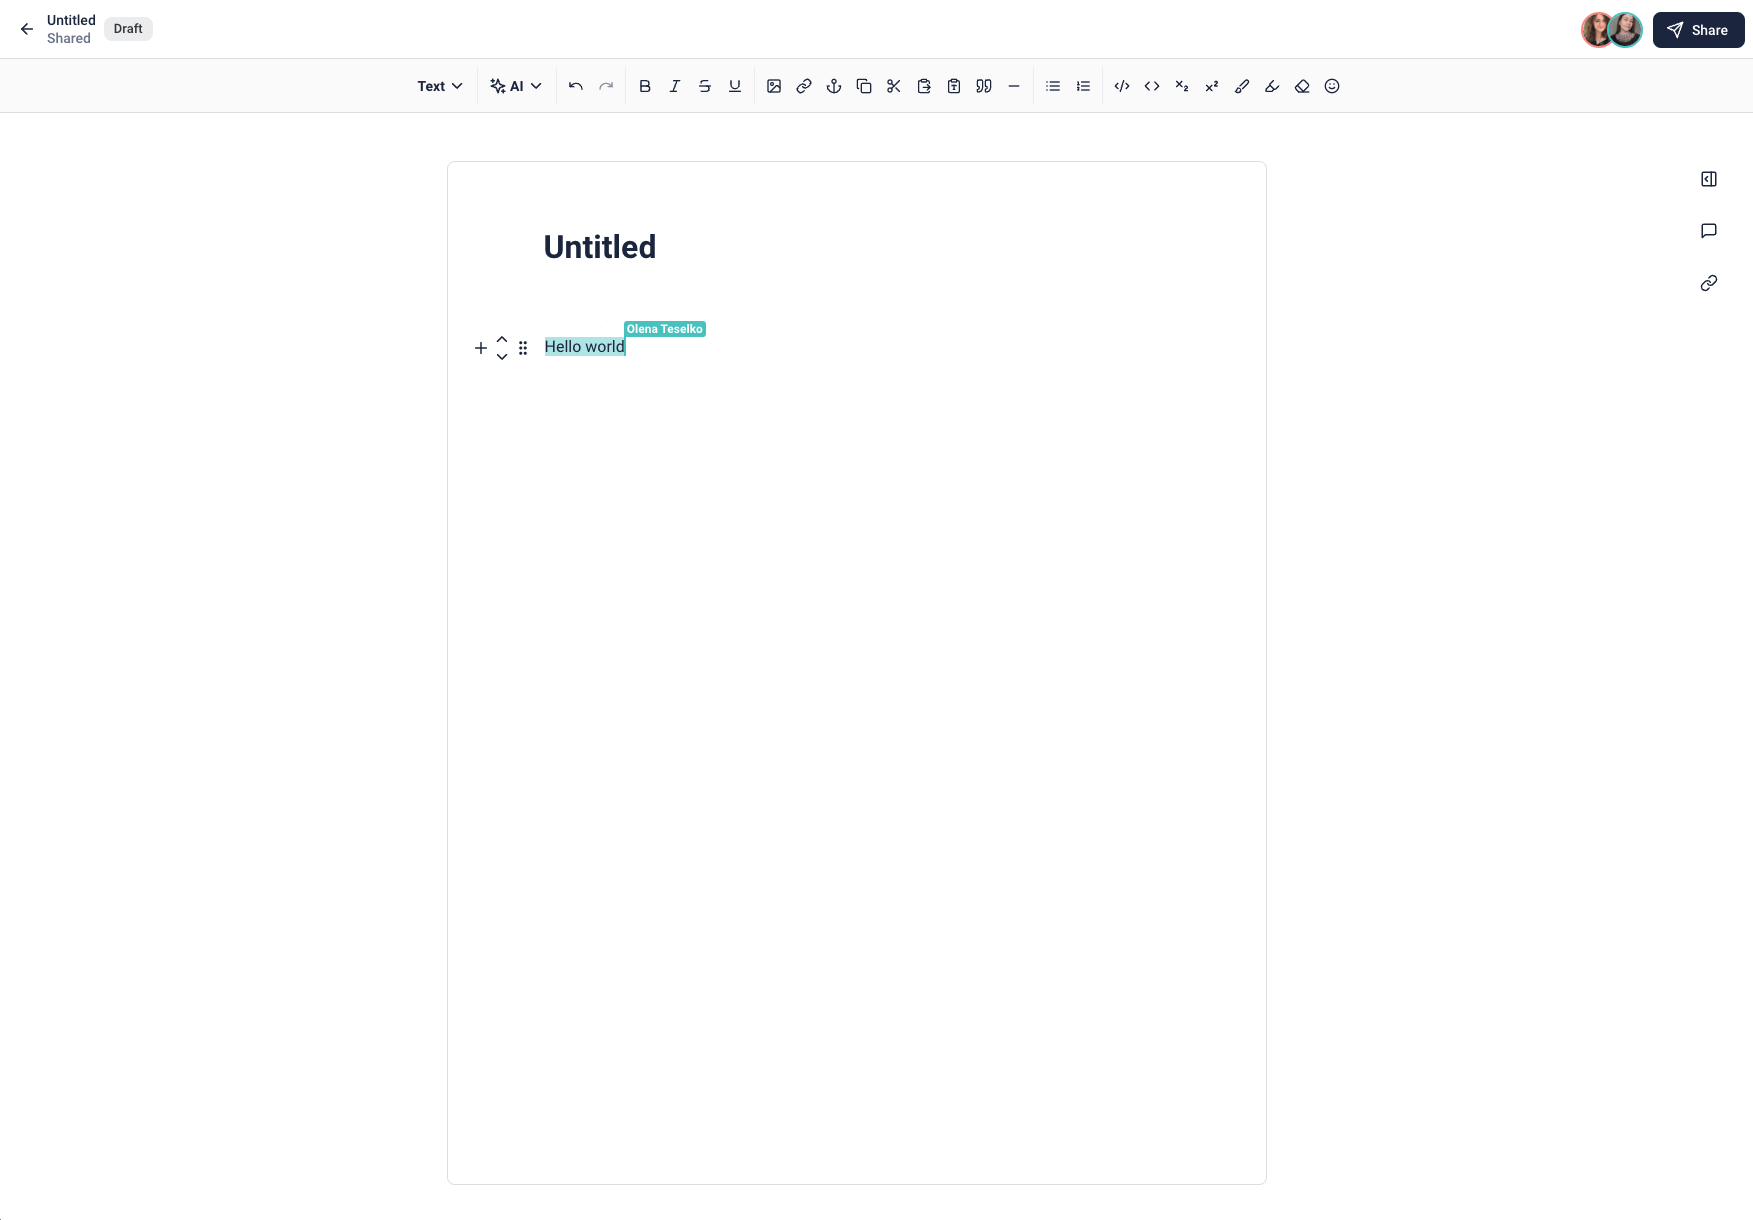
Once you share it with the Space, any user in it will be able to make changes to the Idea. When they edit, you will be able to see them do so in real time with user tags indicating where they’re typing.
As of the Beta, you cannot share Ideas with individuals. It is only possible on the entire Space level.
Writing in the Ideation Room
You can start writing immediately by clicking on the blank page. For more efficient formatting, you can also call any of the formatting options by entering “/” and typing what you’d like to do:

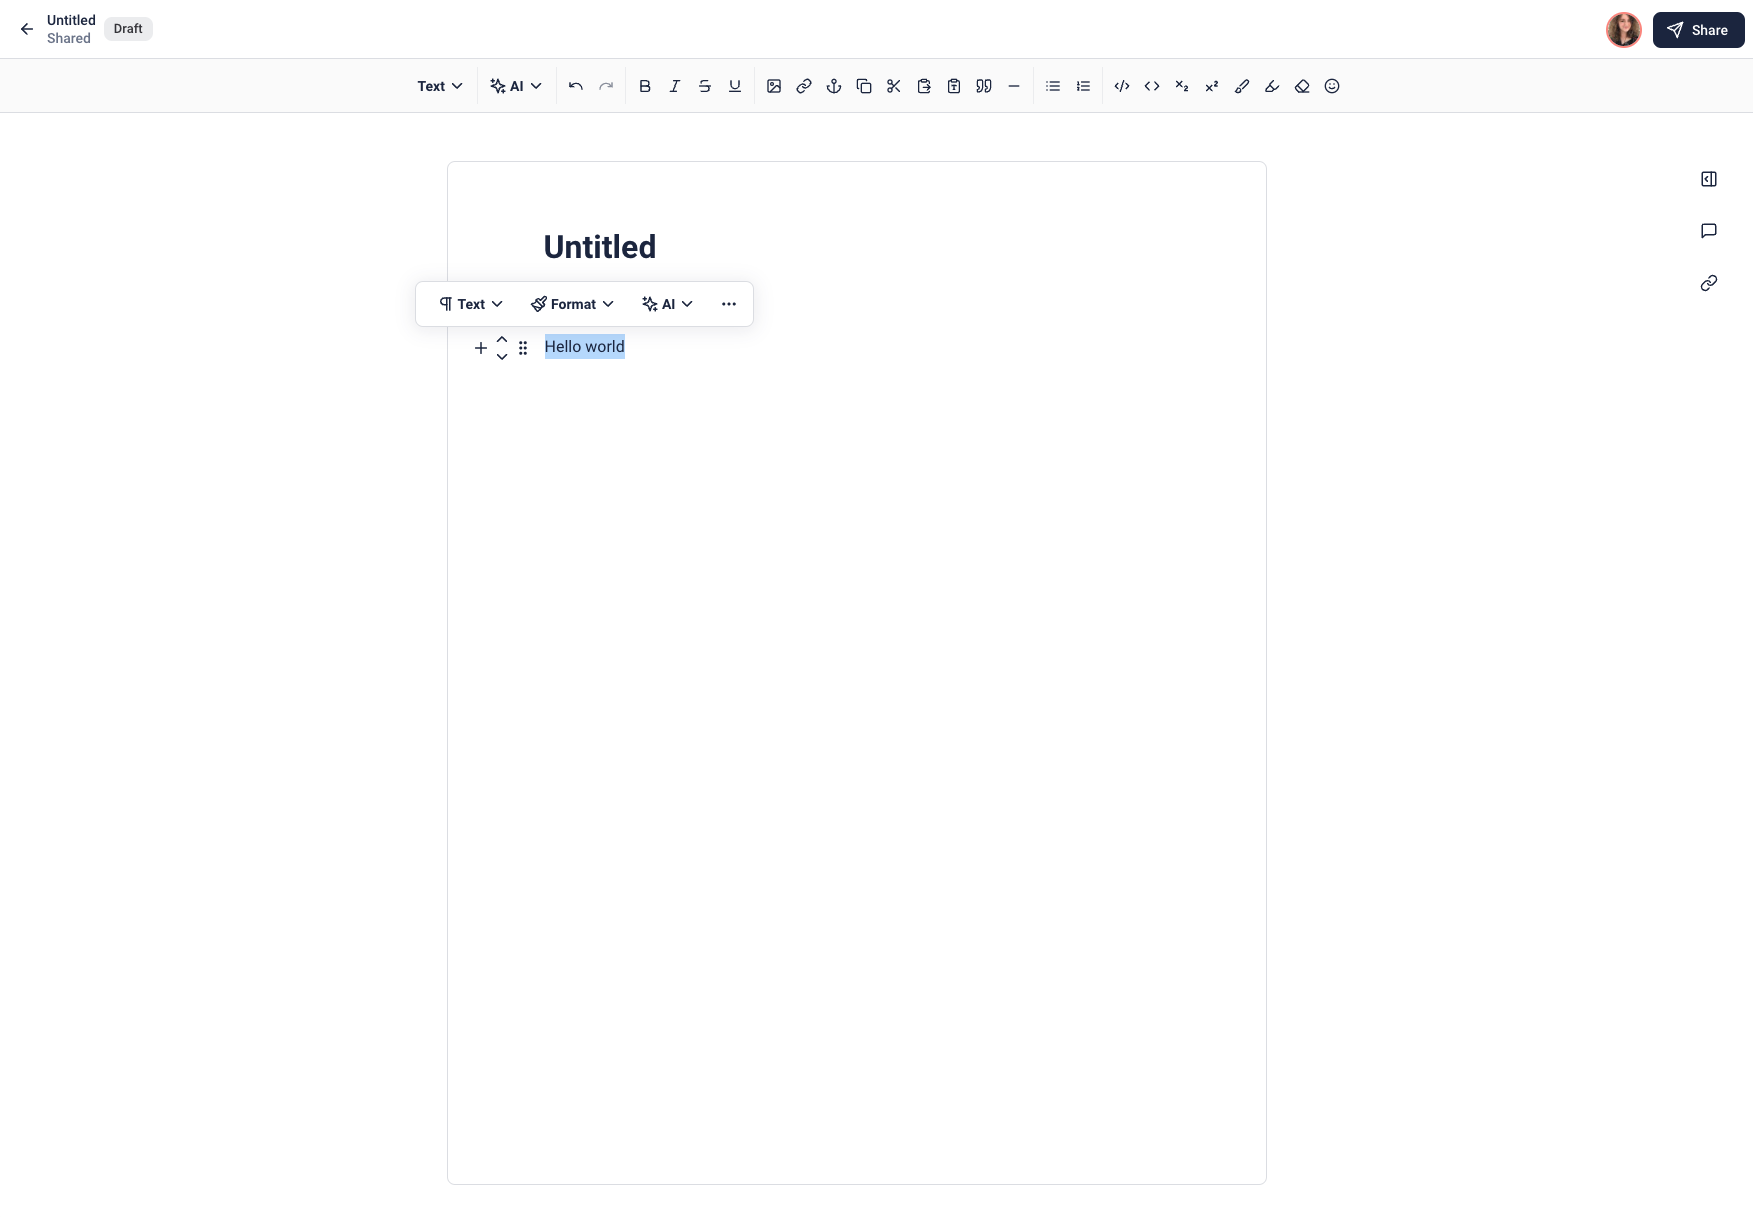
Or, you can highlight existing content for the same options that will only impact the highlighted portion. You can also add new content (with the + icon), move it up and down by one line (the arrow icons), and drag it anywhere around the page (the 6 dots) {1}.
Using AI
There are two main ways to use AI: creating new content or enhancing existing content.
Creating new content
Select AI from the top menu and select Prompt AI {1}. You can also enter / and start typing Prompt AI {2}.
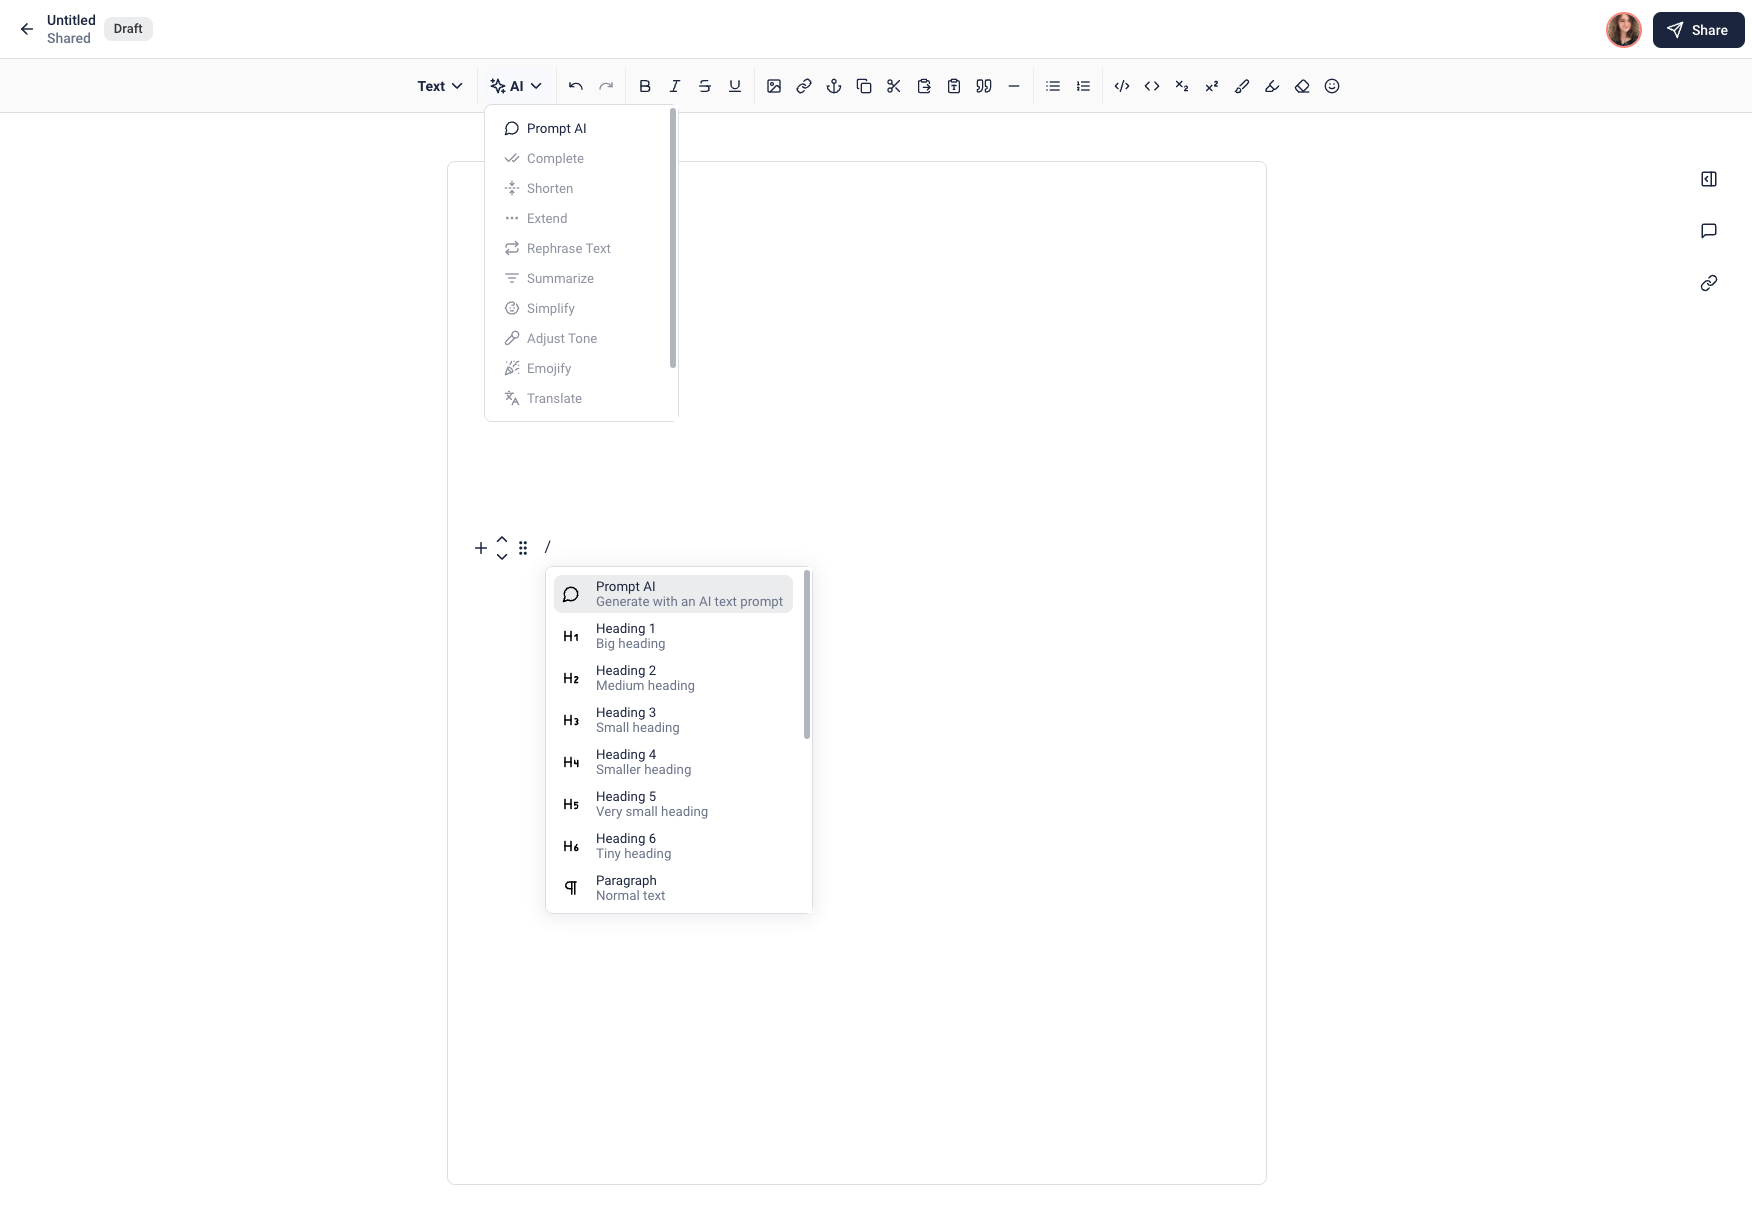
Both actions will bring up the following screen:
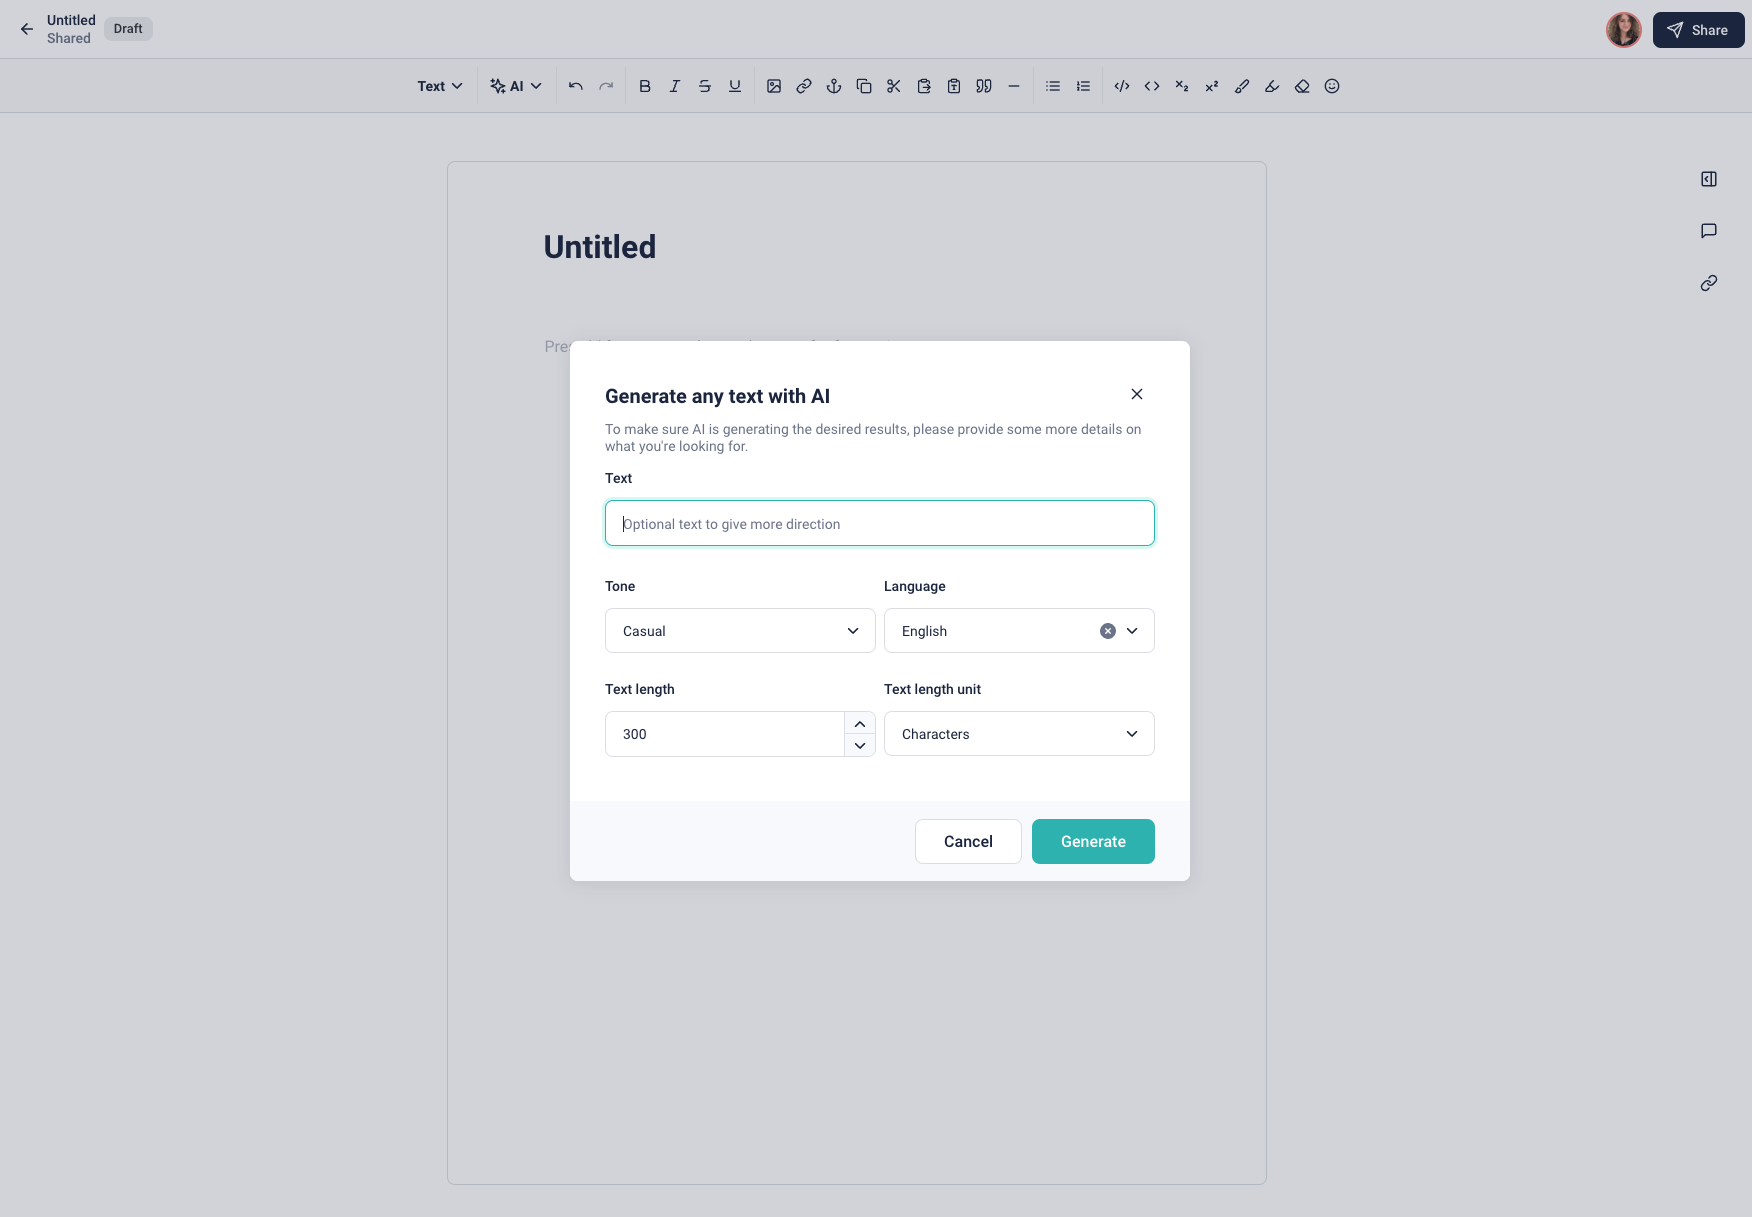
You’ll be presented with several options:
- Text: enter a prompt for the AI to generate.
- Tone: choose how you want the text to sound, with options such as Business, Conversational, Objective, and Poetic.
- Language: choose which language the prompt will be generated in.
- Text length and Text length unit: together, these determine the length of the result. You can choose the number of characters, words, or paragraphs.
Enter your parameters, then click Generate to see your text.
To exit the AI, click Cancel or the X button in the upper right corner.
Enhancing existing content
First, highlight the text you want to enhance with AI. Then, select an option from either the AI menu that pops up from the highlight or the one at the top of the screen.
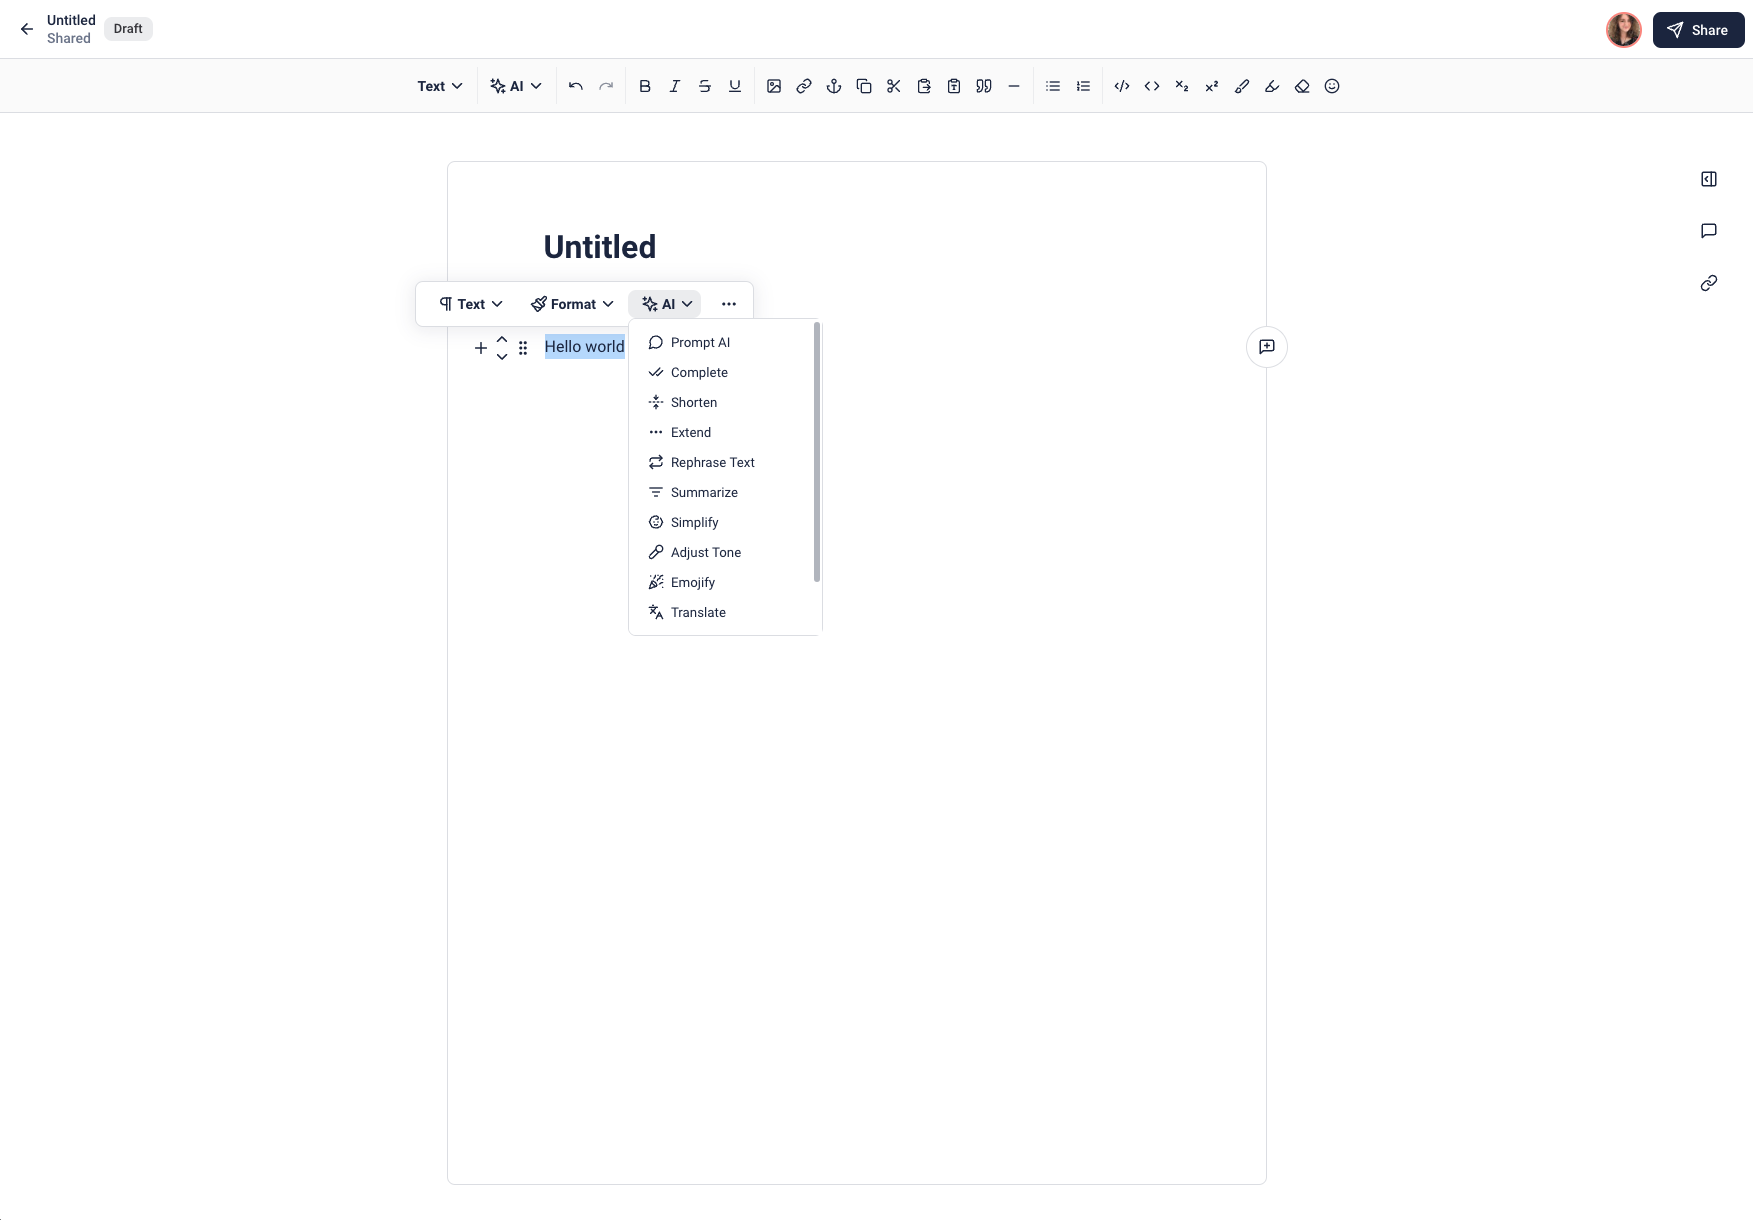
You will see 11 options. You may need to scroll down to see them all. Selecting each one will bring up a unique prompt window.
- Complete: You can choose your preferred tone, language, and text length/text length unit. The AI will use those parameters to complete the text based on what you’ve already written.
- Shorten: This will shorten the length of the existing text to your stated parameters. It will not affect tone or language.
- Extend: This will take the existing text and extend it. You can choose tone and length.
- Rephrase Text: Choose this option to rephrase the existing text differently. You can also choose a new tone.
- Summarize: This will summarize the existing text. It can be done in a new tone as well.
- Simplify: This option will take the text and make it easier to understand. You may also change the text length.
- Adjust Tone: Choose this option to change the text to a new tone.
- Emojify: Emojify will add emoticons to the text. It will not alter the text itself.
- Translate: This will translate the text into the target language.
- TLDR: This option will generate a TL;DR (“too long, didn’t read”) summary. This is similar to the Summarize option but shorter and less formal.
- Spelling & Grammer: Selecting this won’t bring up a prompt window. It will instead automatically correct for any spelling and grammar errors.
Side Menu
The side menu lets you access more functionality on the whole Idea. It is split into three sections: Overview, Comments, and External Resources.
Overview
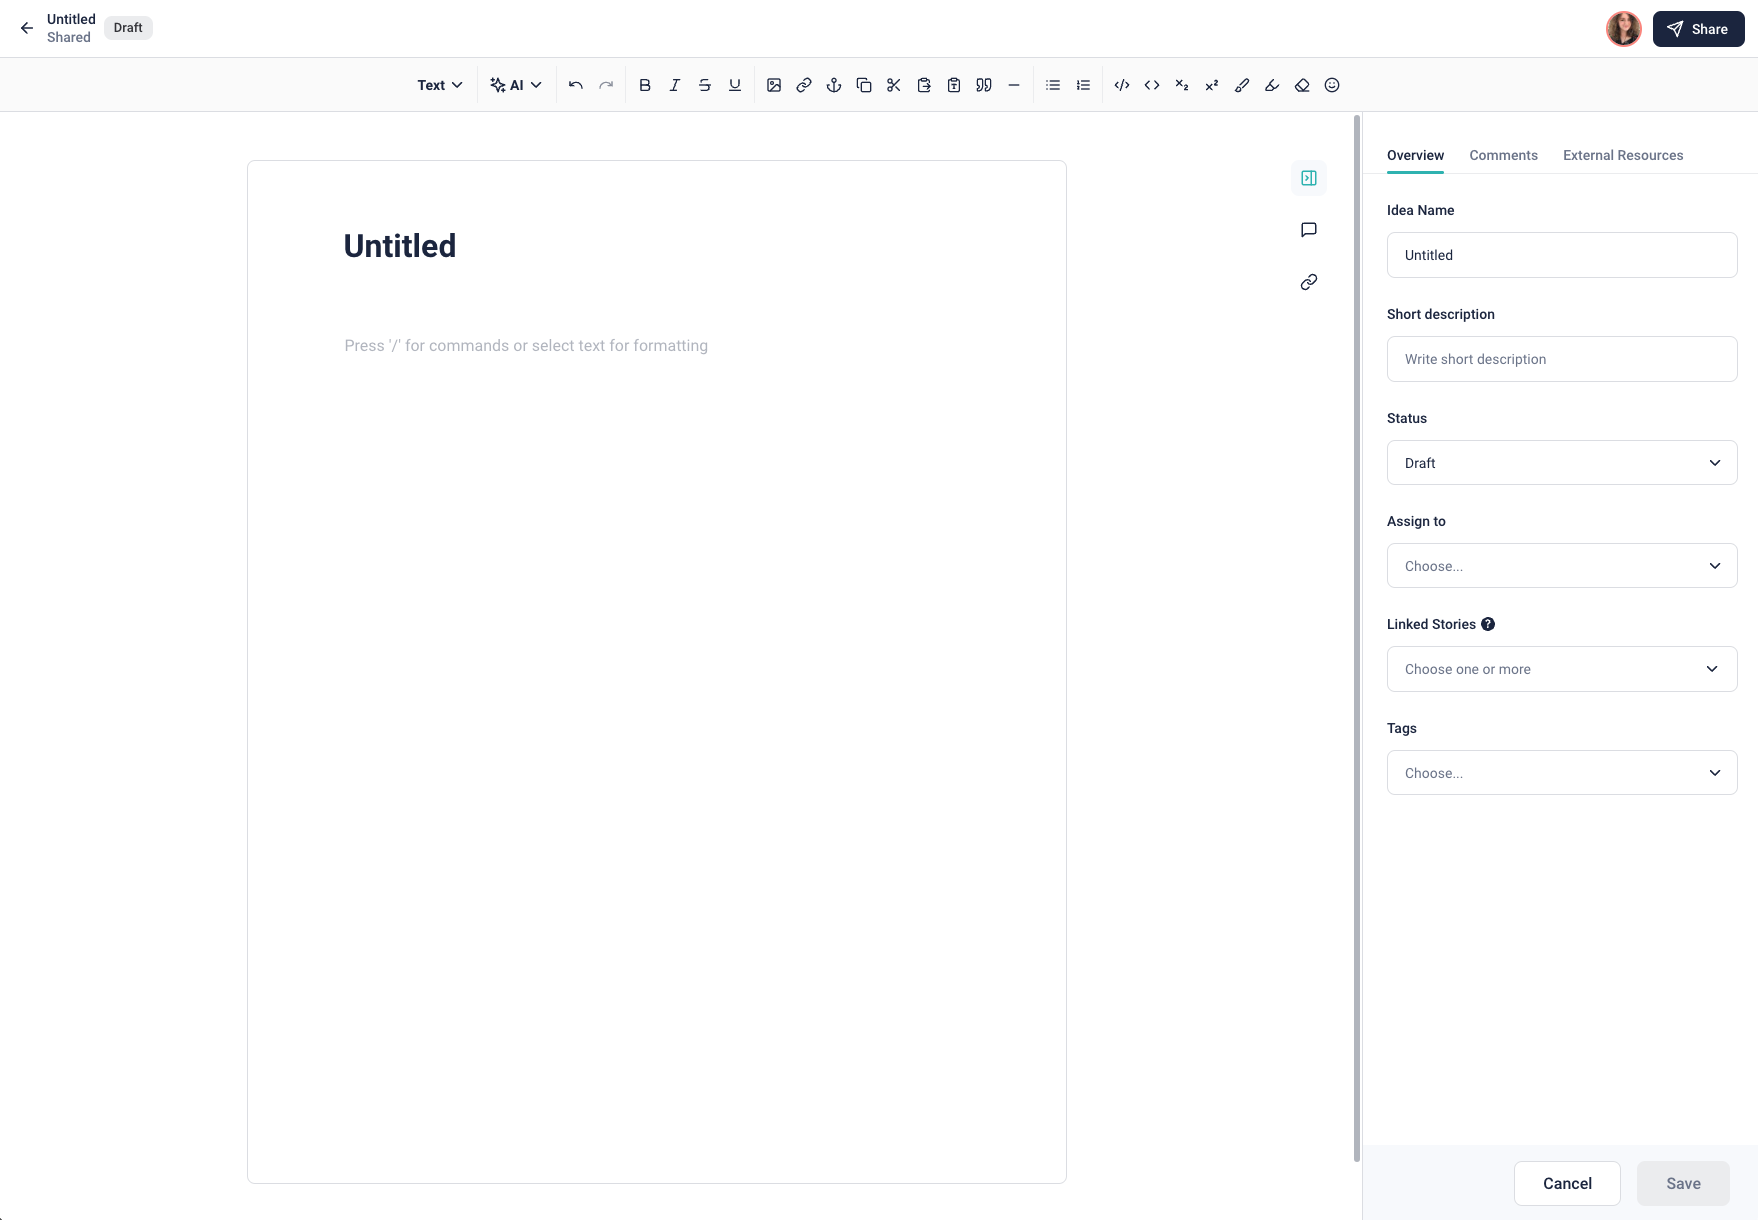
Here, you can change some basic information:
- Idea name: Change the name of the Idea. You can also do this by changing the Title level text.
- Short description: Add a quick description of what the Idea is about.
- Status: Change the status of your Idea. Options include Draft, In Review, Approved, and Done. All new ideas start as Drafts.
- Assign to: Mark one person as responsible for the Idea to others. The tagged person will receive an email notification. Each Idea can have only one assignee.
- Linked Stories: Link the Idea to any page in the Space. See more in the section below, "Linked Stories".
- Tags: Add relevant tags to the Idea for better organization.
Linked Stories
You can then seamlessly access the Idea from the backend of any page you’ve linked it to in any Text box. From there, you can see it directly in the editor, and copy/paste any content over without worrying about formatting or style errors.
To do this, start in the Idea you want to link. Go to the Linked Stories section and enter the Story or Stories you would like to connect it to. Then, click Add.
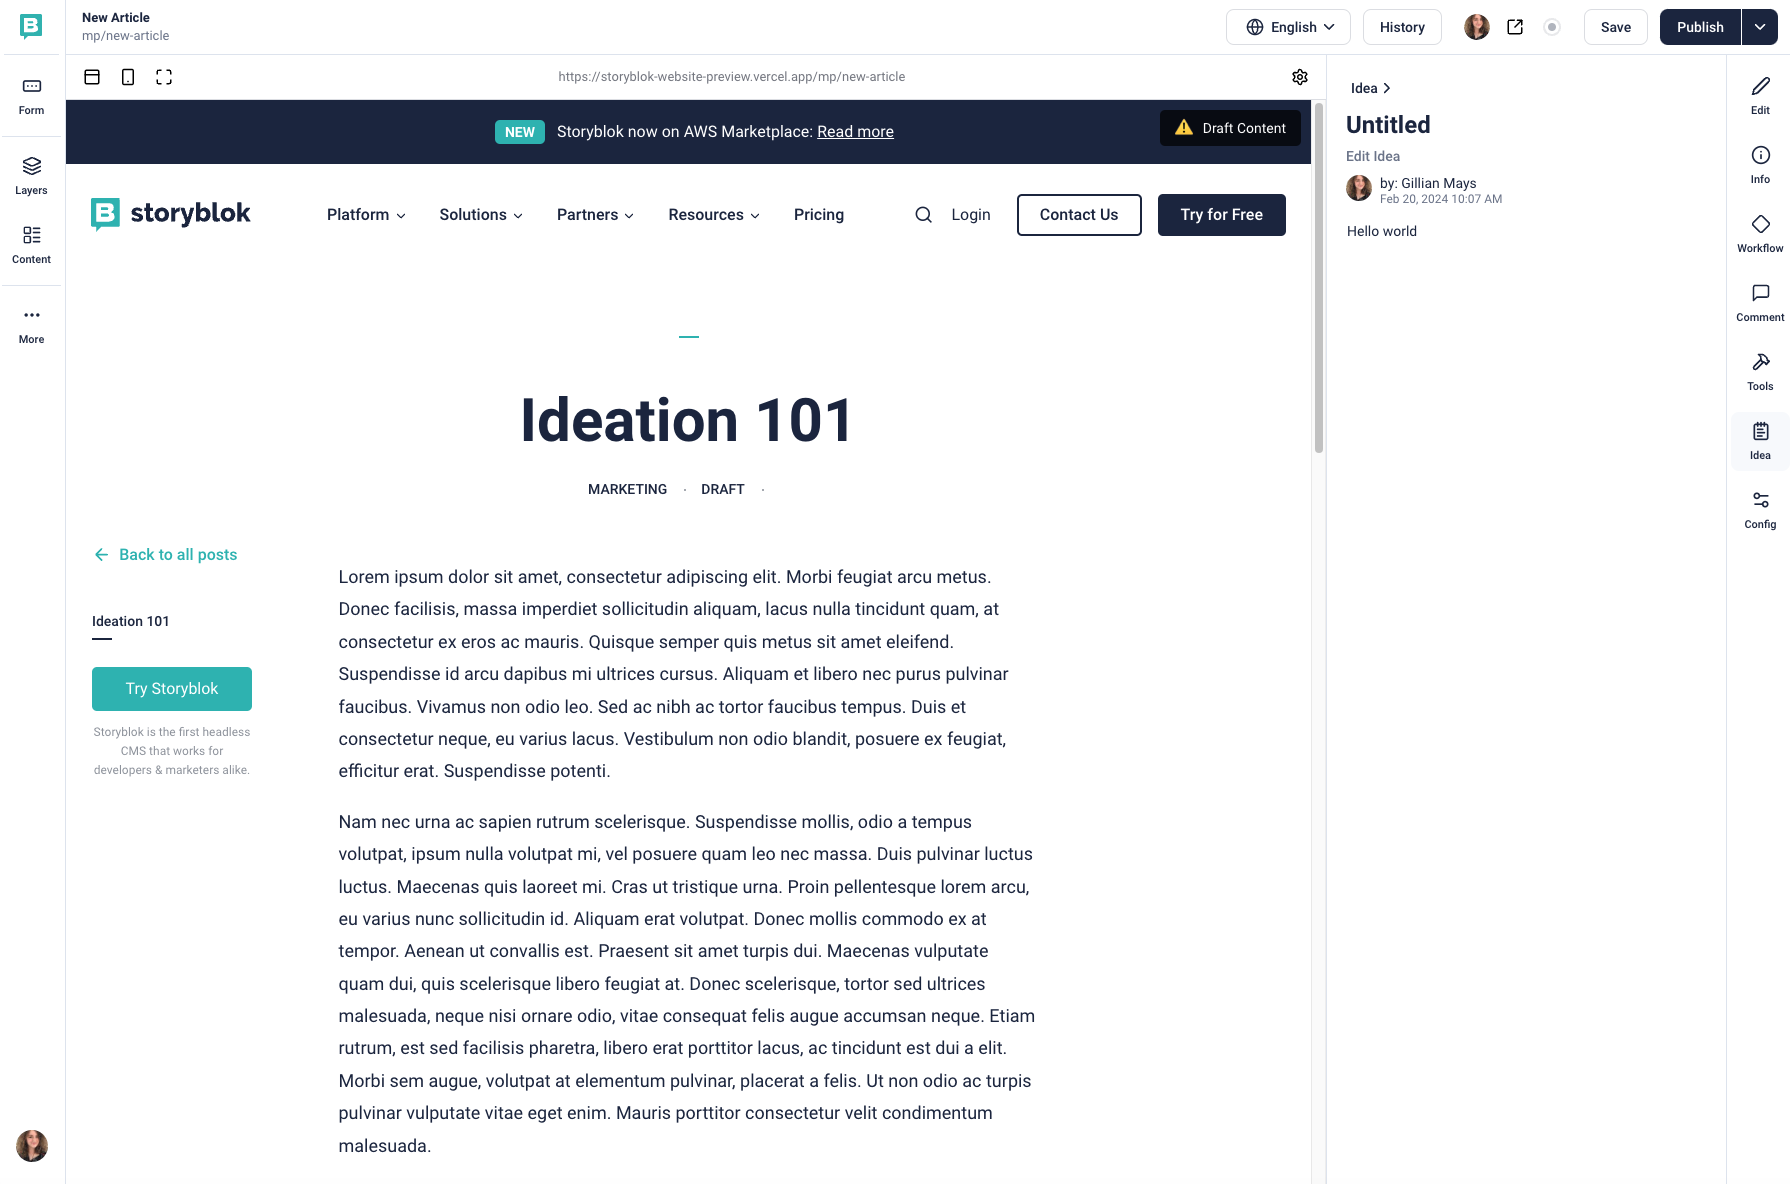
Then, go to the linked Story and select the Idea icon {1}. There, you'll see a list of all linked Ideas and can click on them to view the content. You can also select Edit Idea {2} to directly access the Idea and make changes.
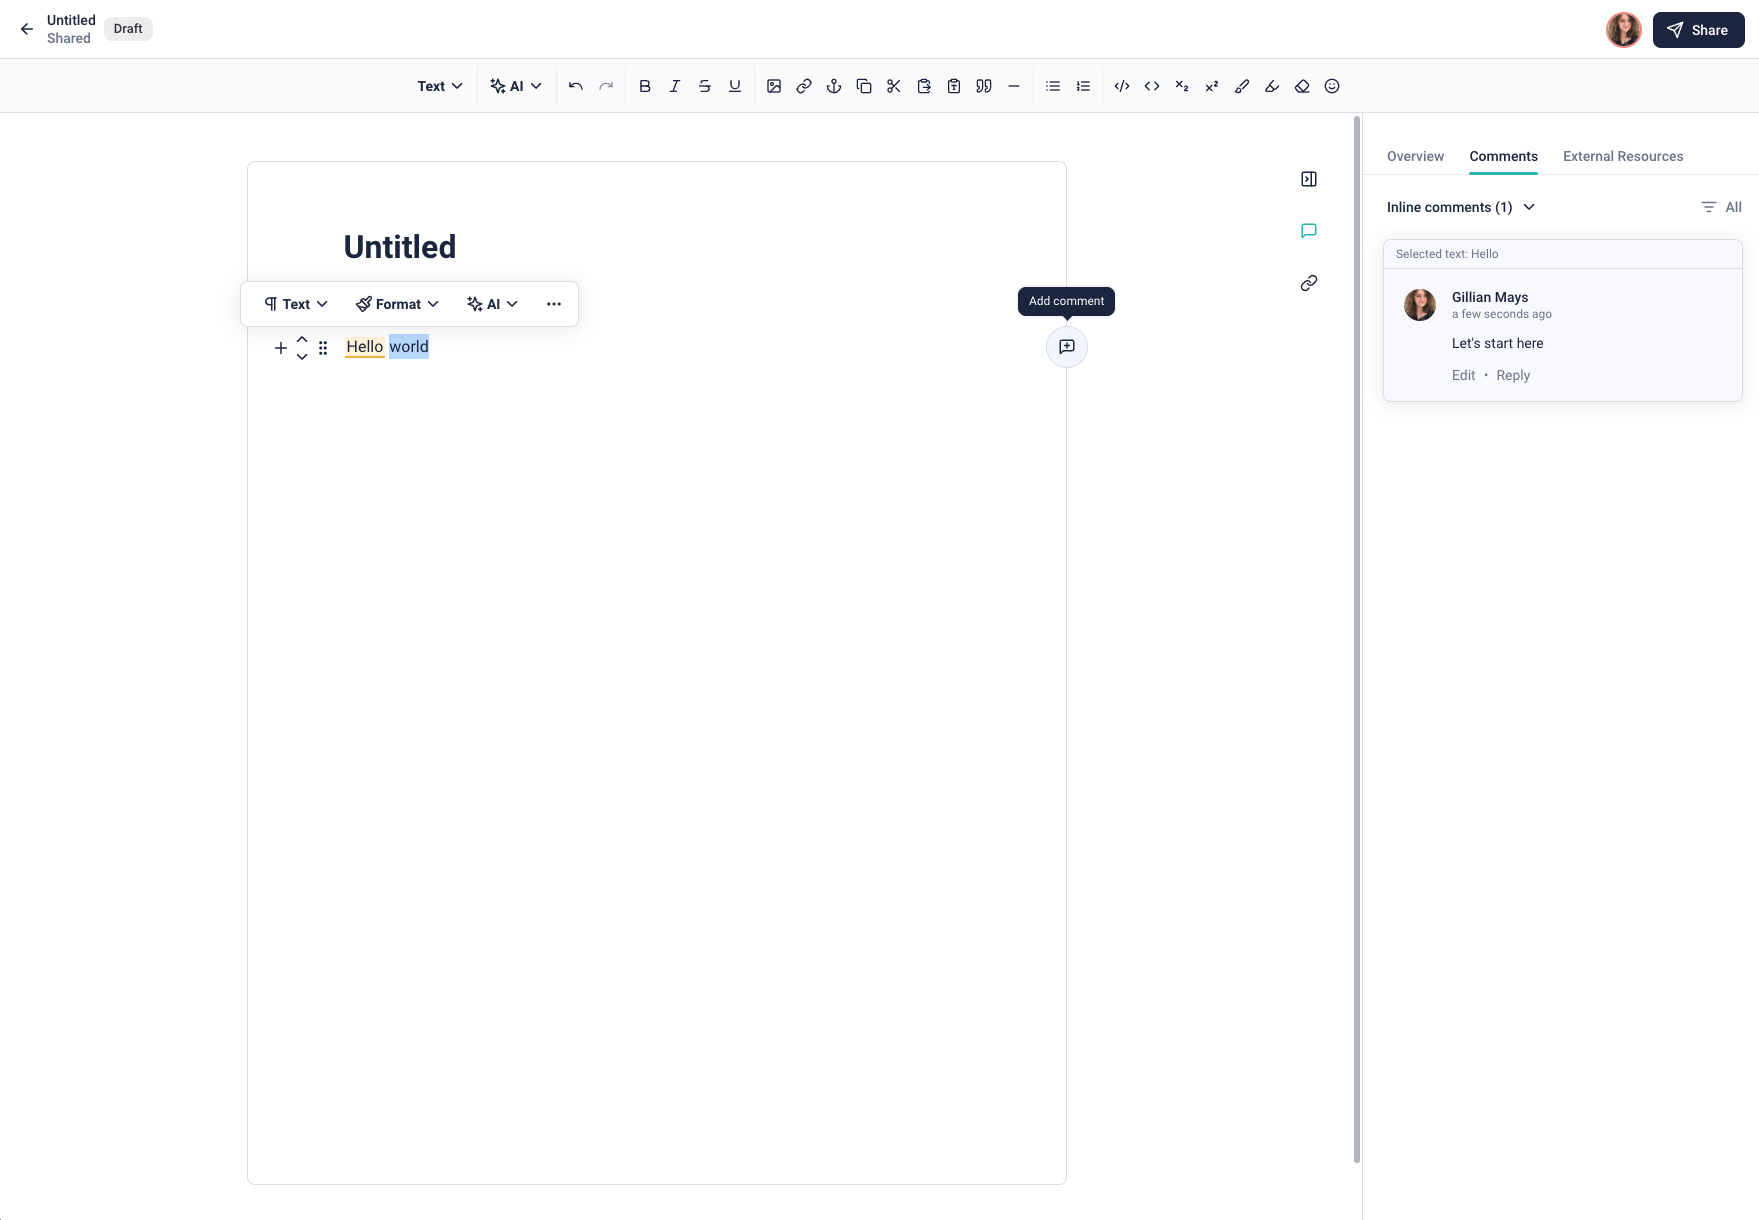
In Comments, you can add general comments about the Idea.Use the @ symbol to tag individual users in your comments and they will get an email notification. You can continue comment threads in this section with the Reply option {1}.
To make a comment on a specific part of the document, highlight the text and select the comment icon that appears on the right side of the screen {2}.
To make a general comment on the entire idea, click the arrow {3} and select Global comments.
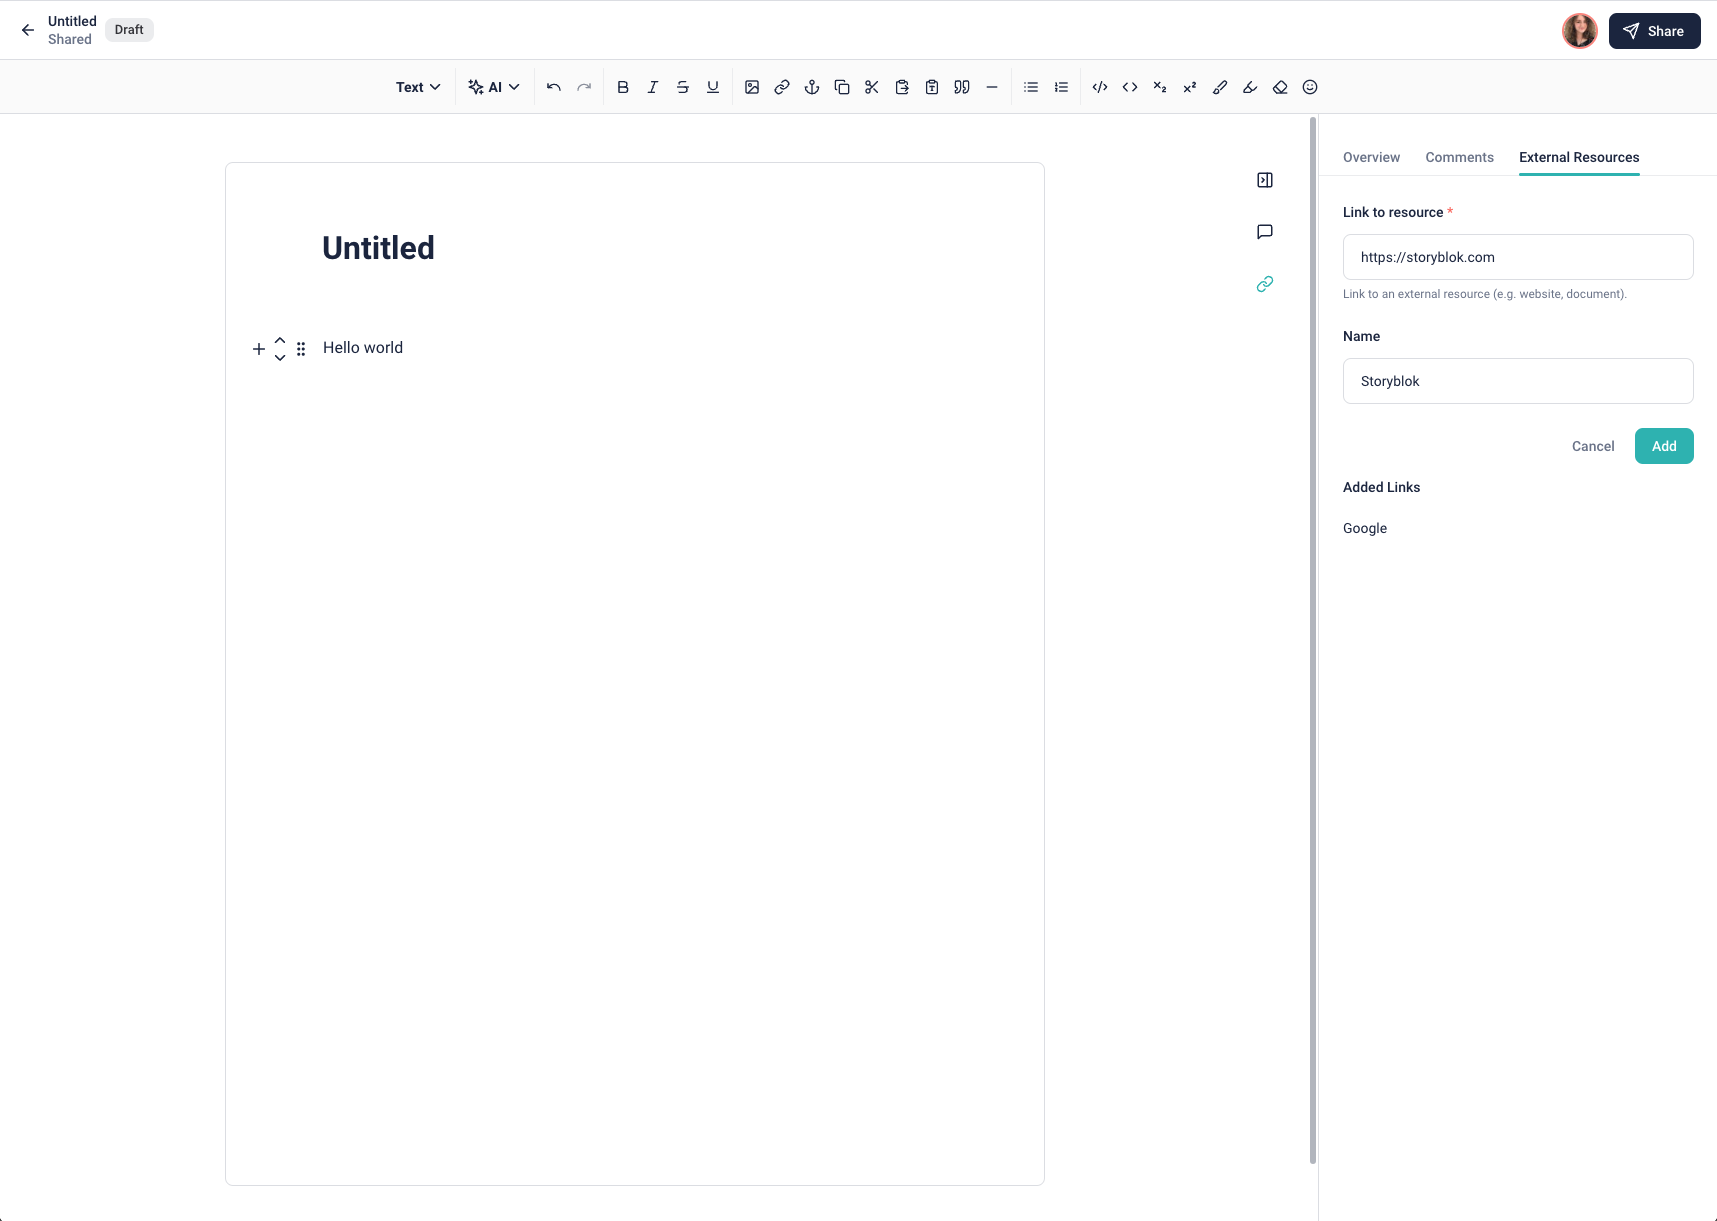
Sometimes, working on projects requires a lot of different resources, tools, and links. To keep these all in one place, add them in the External Resources tab. Simply enter a link – it can be to websites, Google Docs, external tools, anything as long as it’s a valid URL – and give it a name. Then, click Add. It’ll then appear on a list of clickable sources under Added Links.